
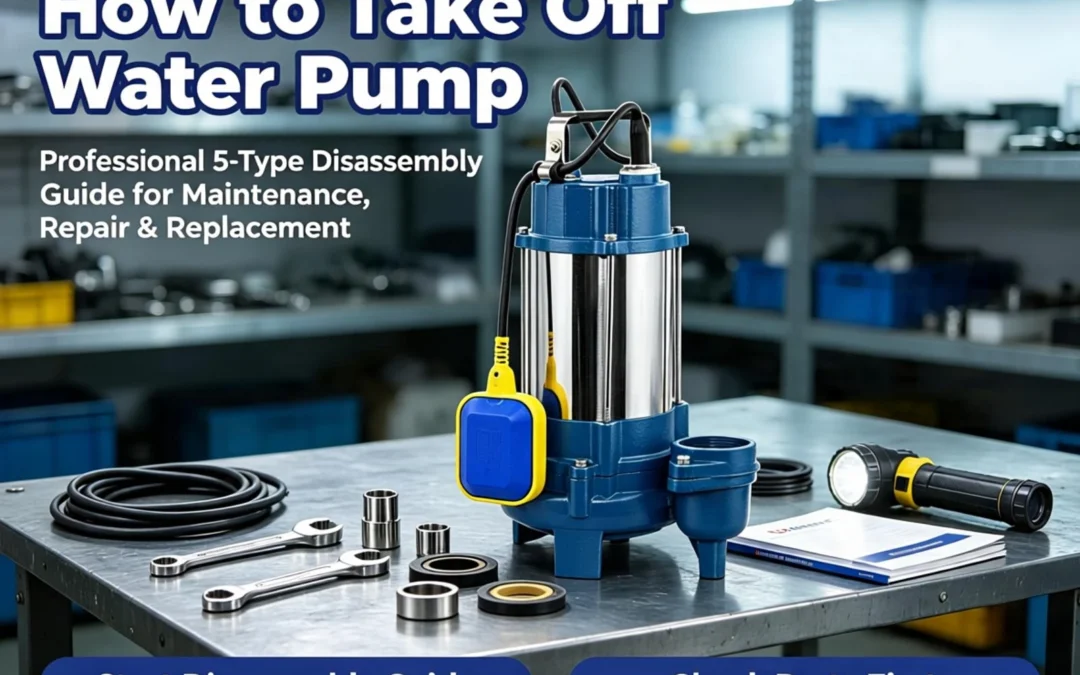
1. Why “How to Take Off Water Pump” Demands a Specialist Approach
If you’ve landed here searching how to take off water pump, you’ve likely encountered the primary flaw in most online tutorials: they treat every pump as a universal commodity. This assumption is not only incorrect; it is expensive. A submersible well pump suspended 150 feet down a narrow casing, a solar pump integrated with a delicate MPPT controller, a high-RPM diesel engine-mounted pump circulating coolant, and a portable gasoline trash pump on a farm site are fundamentally different engineering systems. Attempting to take off water pump using a generic “one-size-fits-all” method often results in cracked impellers, destroyed mechanical seals, shorted circuitry, environmental fuel spills, and—in the worst-case scenario for deep-well applications—dropping a several-hundred-pound assembly into the abyss of a borehole.
As a leading manufacturer-integrator (OEM & Trading), Jingong Technology specializes in the full spectrum of fluid transfer solutions: booster pumps, submersible pumps, surface/land pumps, solar water pumps, and gasoline/diesel water pumps. Serving the global markets of agriculture, construction, domestic water supply, and off-grid solar irrigation, our field engineers have executed thousands of successful water pump removal and reinstallation projects across Southeast Asia, Africa, South America, and the Middle East. This guide distills that decade of hard-won field experience into a definitive, type-specific technical walkthrough.
In this comprehensive guide, you will master:
- The critical decision matrix: When taking off water pump is necessary versus when in-situ repair is viable.
- Dynamic safety protocols tailored to specific energy sources (240V AC, DC Solar, Gasoline, Diesel).
- Professional-grade tooling lists that match the physical realities of each pump type—moving beyond the inadequate “wrench + screwdriver” trope.
- Granular, step-by-step procedures for submersible, surface/land, solar, and fuel-engine pumps (with specific distinctions between gasoline and diesel configurations).
- Advanced troubleshooting for seized components (rusted bolts, scaled casings, silt-locked impellers).
- Post-removal inspection protocols to ensure you don’t reinstall a compromised unit.
Whether you are an irrigation contractor preparing for dry-season maintenance, a facilities manager servicing building boosters, a homeowner troubleshooting a solar garden feature, or a procurement engineer verifying technical specifications, this resource is engineered for your success. Throughout this article, we link to our specific product lines—including our robust submersible pumps, high-efficiency surface pumps, innovative solar pumping systems, and durable fuel-engine pumps—to provide context and sourcing options.
Terminology Note: In this guide, “take off,” “remove,” and “disassemble” are used with precision. Take off refers to separating the pump assembly from its installation environment (well, baseplate, engine block, or manifold). Disassemble refers to opening the pump casing to access internal components (impeller, seal, bearings). Many queries for water pump removal specifically seek extraction instructions, which we cover exhaustively.
2. Before You Take Off a Water Pump: Safety, Tools, and Pre‑Checks

This section addresses the most significant gap in amateur tutorials: the rush to “Step 1: Unscrew.” Resist this urge. Taking off water pump ranks among the highest-risk maintenance tasks in industrial and agricultural operations due to the convergence of hazardous energy (electrical, photovoltaic, hydrocarbon fuel), pressurized water, and potentially confined workspaces (wellheads, engine bays, rooftops).
2.1 Safety First: Energy Isolation by Pump Type
Jingong’s Lockout/Tagout (LOTO) protocol begins with positive verification, not assumption.
| Pump Type | Energy Isolation Procedure | Critical Hazards |
|---|---|---|
| Submersible (Well) | Open 2-pole 240V breaker. Verify 0V at wellhead junction with a multimeter. | Drop-weight (pump + water-filled pipe); well contamination. |
| Surface / Booster | Disconnect main power. Bleed system pressure via nearest faucet. Close inlet/outlet gate valves. | Base-bolt corrosion; pipe-thread seizure; residual pressure release. |
| Solar DC Pump | Activate PV disconnect. Shutdown controller. Wait 15 mins for capacitor discharge. | DC arc flash; controller MOSFET damage; high-voltage shock. |
| Gas/Diesel Engine | Cool engine (≥30 mins). Close fuel shutoff. Disconnect 12V battery negative terminal. | Thermal burns; fuel spillage; belt pinch points; battery explosion. |
Jingong Field Rule: Never take off a water pump based solely on a visual check of a switch. Always verify isolation with a calibrated multimeter or non-contact voltage tester. For well pumps, physically tag the breaker to prevent accidental re-energizing by third parties.
2.2 Professional Tooling Inventory
Generic tool lists lead to stripped bolts and damaged components. Below is the inventory utilized by Jingong service crews.
Universal Toolkit (All Types)
- PPE: Class 0 (1000V rated) insulated rubber gloves, ANSI Z87.1 safety glasses, steel-toe boots.
- Wrenches: 6″ & 10″ adjustable wrenches (Crescent style), complete socket set (SAE 3/8″ & 1/2″ drive; Metric 10–19 mm).
- Hand Tools: #2 Phillips & Flathead screwdrivers, digital multimeter (True RMS preferred), torque wrench (critical for reassembly).
- Organization: Marker tape, ziplock bags (for hardware segregation), permanent marker.
Submersible-Specific Toolkit
- Lifting: 1-ton chain hoist or tripod puller. Pump puller mechanics dictate that you must account for the dead weight of the pump plus hundreds of feet of water-filled drop pipe.
- Rigging: 1/4″ Stainless steel cable, thimble, cable clips, heavy-duty pipe clamps.
- Electrical: Non-contact voltage tester.
Solar-Specific Toolkit
- PV Handling: MC4 spanner/unlocking tool, opaque cloth/panel covers (panels generate voltage even in low light).
- Electrical: 1000V rated insulated drivers.
Fuel-Engine-Specific Toolkit
- Fluids: 5-gallon drain pan, rags.
- Hose Work: Screw-type hose clamp pliers (avoid pinch-types on brittle old hoses).
- Mechanics: Belt tensioner wrench/pry bar, rubber mallet (never strike castings with steel hammers), gasket scraper.
2.3 Pre-Check Verification
- Symptom Documentation: Record the failure mode (no flow, cavitation, seal leak, bearing noise). This focuses your post-removal inspection.
- Infrastructure Assessment: Inspect pipe condition. Rusted galvanized or brittle PVC requires a full replacement strategy rather than a simple pump swap.
- Environmental Readiness: Ensure the workspace is stable (mud-free for tripods, cool for engine bays, shaded for solar arrays).
- Crew Size Confirmation: Submersible pulls require a minimum of two personnel. Diesel engine pumps require two (one to manage belts, one to support the pump). Solar and gasoline pumps may be handled by one, depending on weight.
3. How to Take Off a Water Pump: Type‑by‑Type Procedures
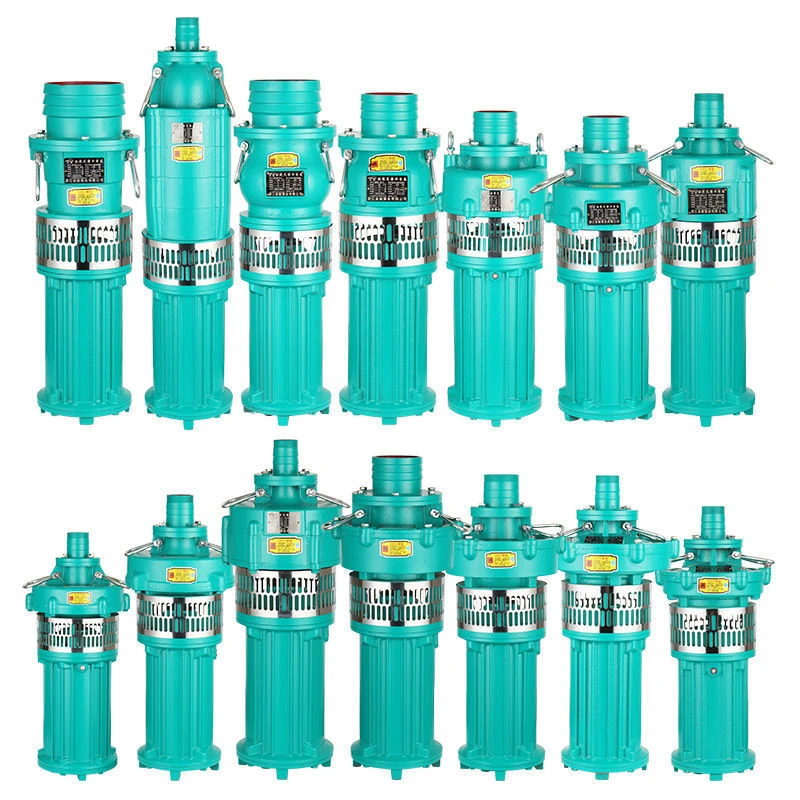
This section constitutes the core technical value of this guide. Each pump type presents a unique “point of failure” when generic instructions are applied. We highlight these risks upfront.
3.1 Taking Off Submersible Water Pump (Well / Borehole)
The Critical Mistake: Instructions telling you to “unscrew the pipe and pull” without establishing overhead mechanical advantage first. The moment you unthread the pitless adapter, the entire weight of the pump and water-filled drop pipe transfers to whatever is holding it. Without a hoist already bearing the load, the assembly drops instantly.
Applicable Models: Jingong 4″–10″ submersibles, deep well borehole units, agricultural irrigation submersibles.
Step-by-Step Submersible Removal
Step 1: Electrical Isolation & Verification. Open the dedicated 240V circuit breaker. At the wellhead junction box, disconnect the wiring and verify 0V line-to-line and line-to-ground using a multimeter. Tape the exposed leads to prevent shorting during the pull.
Step 2: Pressure Relief. Bleed the pressure tank via the drain valve or a nearby fixture. This reduces stress on the pitless adapter threads.
Step 3: Well Cap Removal. Clean debris from the wellhouse floor. Unthread the well cap (pipe wrench on flats or unbolt) and pry gently if corrosion is present. Avoid deforming the casing mouth.
Step 4: Hoisting Setup (The Most Important Step). Position a 1-ton tripod or A-frame centrally over the casing. Feed the stainless cable down. Unbolt the discharge head from the casing flange. Clamp a pipe vise onto the drop pipe just above the casing lip. Engage the hoist to take the full weight of the assembly. Only now should you unthread the drop pipe from the pitless adapter. Have a helper monitor the torque arrestor (rubber donut above the pump) to anticipate clearance issues at the casing mouth.
Step 5: Controlled Extraction. Operate the hoist at a steady, walking pace. As each section of pipe clears the casing, a second technician unthreads the joints using dual pipe wrenches. Rest pipe sections on sawhorses, not dirt. Re-clamp the pipe to the casing lip periodically to ensure no single point is bearing the full load during wrenching.
Step 6: Casing Exit. As the pump approaches the casing mouth, the torque arrestor and pump diameter create maximum friction. Wiggle gently; never force. Once clear, rest the pump on a wooden pad (concrete can crack the housing). Disconnect the safety rope if present. Label wire colors meticulously before cutting any ties.
Step 7: Separation. Secure the pump housing with a wrench while unthreading the drop pipe nipple with another. This prevents twisting the motor housing. You have now successfully performed a submersible water pump removal.
Solar Submersible Nuance: For DC solar submersibles, the wellhead junction typically features a splice can with potted connections. Cut heat-shrink carefully 2 inches above the splice to preserve the conductors for potential reuse.
3.2 Taking Off Surface / Land / Booster Water Pump
The Critical Mistake: Shutting off power but neglecting to close the suction-side gate valve. Upon unbolting the inlet, gravity-fed supply lines backflow, flooding the motor terminal box and ruining the windings.
Applicable Models: Jingong centrifugal surface pumps, self-priming pumps, booster/pressure sets.
Step-by-Step Surface Pump Removal
Step 1: Fluid & Electrical Isolation. Close both inlet and outlet gate valves. Kill power at the distribution board and verify at the motor terminal box. For VFD-controlled booster sets, ensure the controller is de-energized, as some back-feed voltage to motor terminals even when “off.”
Step 2: Drainage. Open the drain plug (typically 1/4″ NPT or G1/2) at the volute’s lowest point. Collect water in a bucket. If no plug exists, loosen the inlet union and tilt water out.
Step 3: Piping Disconnection. Loosen hose clamps or unthread union nuts using two wrenches (one stabilizing the pump, one turning the pipe) to prevent torque on the pump housing.
Step 4: Base Bolt Removal. Surface pumps mount via four bolts through a foot flange. On corroded installations, apply penetrating oil (e.g., PB Blaster) 15 minutes prior. Loosen bolts in a cross pattern (North-South, then East-West) to prevent warping the foot.
Step 5: Coupling Separation. For close-coupled pumps, mark the motor position relative to the pump backplate with a paint pen to aid future alignment. Unbolt the motor flange from the pump.
Step 6: Extraction. Lift the pump straight up (15–60 kg depending on HP). Avoid dragging sideways to prevent shearing the foot flange. Transfer to a workbench for inspection.
Booster System Note: When taking off a water pump integrated into a factory-built booster skid, you typically unbolt the entire skid from its foundation rather than isolating the pump individually. Address anti-vibration mounts first to prevent tearing.
3.3 Taking Off Solar Water Pump (DC / PV‑Powered)
The Critical Mistake: Disconnecting pump wires before addressing the PV array. A solar array generates high DC voltage (60V–390V+) whenever irradiated. Unlike AC, DC arcs do not self-extinguish easily; a slipped tool can weld itself to the contact, causing severe injury or equipment destruction.
Applicable Models: Jingong helical-rotor solar borehole pumps, solar surface pumps, DC solar booster units.
Step-by-Step Solar Pump Removal
Step 1: PV Input Isolation. Flip the PV isolator to OFF. If no isolator exists, physically cover the panels with an opaque tarp. Never assume shade equals zero voltage.
Step 2: Controller Shutdown & Capacitor Discharge. Power down the MPPT controller. Wait a mandatory 15 minutes. DC controllers retain significant charge in their capacitors. Measure voltage at the pump output terminals; proceed only if readings are below 3V.
Step 3: String Disconnection. Use an MC4 spanner tool to disconnect PV connectors. Never pull by the wire. Label each string and tape the connector ends to prevent accidental contact.
Step 4: Pump Lead Disconnection. Photograph the terminal layout. Disconnect the pump leads (typically DC+/DC-/Ground). For submersible solar pumps, access the splice can at the wellhead.
Step 5: Mechanical Removal. The process now diverges:
- Solar Submersible: Follow Section 3.1 (Hoisting setup, extraction, separation).
- Solar Surface/Livestock: Close valves, unbolt the pump from its bracket, and lift off (usually 7–20 kg).
- Rooftop/Fountain: Unclip the integrated panel, then detach the pump from the fixture.
Step 6: Controller Removal (Optional). If replacing the entire system, unmount the controller from its DIN rail or backplate.
Solar Warning: Never attempt to take off a solar water pump while the array is exposed to sunlight and the controller is active. Even without the pump connected, the controller will enter fault loops that stress internal electronics.
3.4 Taking Off Gasoline / Diesel Water Pump (Engine‑Driven)
The Critical Mistake: Unbolting the pump head while the engine is warm, resulting in scalding coolant spray, or ignoring the fuel shutoff, leading to diesel or gasoline spills. Additionally, confusing “removing the pump from the engine” with “removing the engine-pump assembly from the frame.”
Applicable Models: Jingong portable gasoline trash pumps, diesel engine-driven centrifugal irrigation pumps, skid-mount diesel firefighting sets.
Step-by-Step Fuel-Engine Pump Removal (Engine-Mounted Centrifugal)
Step 1: Thermal & Fuel Isolation. Allow the engine to cool for ≥30 minutes. Close the fuel shutoff valve. Disconnect the 12V battery negative terminal to prevent accidental cranking.
Step 2: Coolant Drainage. Place a drain pan under the radiator petcock. Slowly open the radiator cap (to release residual pressure) and open the petcock. For marine/dual-circuit units, drain the raw-water side as well. Reference: Detroit Diesel freshwater pump disassembly patterns.
Step 3: Belt Tension Release. Locate the belt tensioner (spring-loaded or adjuster bolt). Relieve tension and slide the belt off the pump pulley. Inspect the belt for cracks; replace if degraded.
Step 4: Hose Disconnection. Loosen hose clamps and slide them back. Twist and pull hoses off nipples. Cap loose hose ends to prevent drips.
Step 5: Pump Unbolting. Remove the 4 mounting bolts (M8 or 5/16″) in a cross pattern. If the pump is seized to the engine face due to gasket sealant, tap the edge of the housing with a rubber mallet. Use a wooden spreader in the bolt holes for leverage—never pry against water passages, as this damages sealing surfaces.
Step 6: Impeller Access. With the volute removed, the impeller is exposed on the crankshaft stub. Note the mechanical seal orientation (spring side typically faces the fluid).
Portable Gasoline Pump Specifics: For trash pumps where the pump and engine share a frame, taking off the water pump might refer to splitting the volute from the engine to access the impeller. Loosen the circumferential volute bolts in a star pattern to prevent warping. If removing the entire assembly, drain the fuel tank or unbolt it separately before unbolting the engine-pump skid from the frame.
4. When Taking Off Water Pump Goes Wrong: Stuck Bolts & Seizures
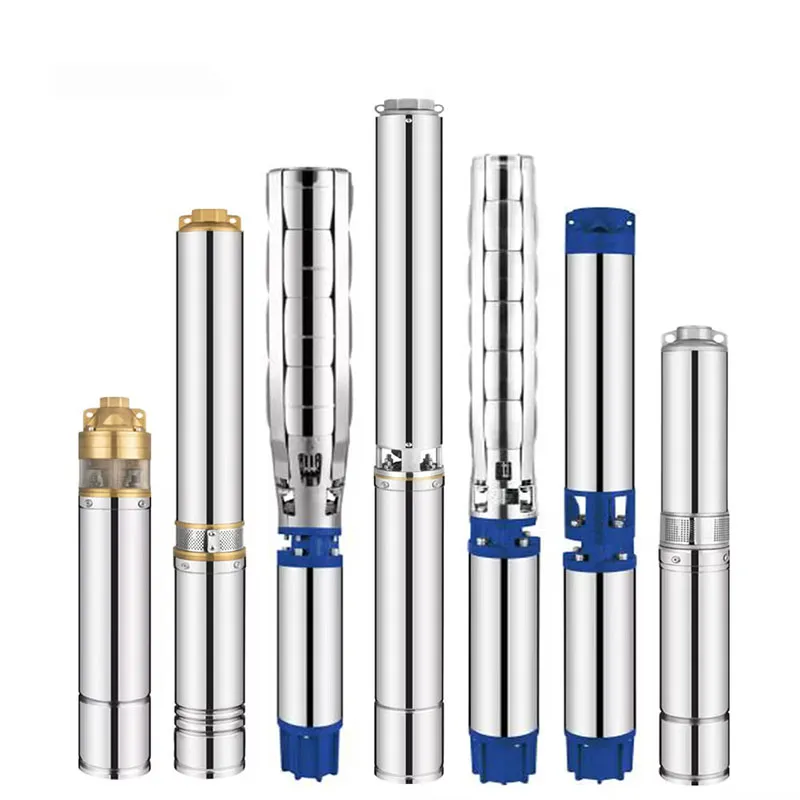
Even with perfect adherence to procedures, water pump removal often encounters physical resistance. Below is the Jingong Field Troubleshooting Matrix.
Problem: Drop Pipe Seizure at Pitless Adapter (Submersible)
Cause: Mineral scale or cold-welded O-rings.
Solution: Do not increase torque blindly. Apply a calcium-lime penetrant or perform a hot-vinegar flush if water access permits. Allow 20 minutes of dwell time. Use a 24-inch cheater bar on your pipe wrench, but ensure a second technician stabilizes the pipe to prevent bending.
Problem: Pump Binding in Casing (Submersible)
Cause: Torque arrestor or pump diameter catching on casing irregularities.
Solution: Cease pulling immediately. Forcing extraction risks snapping the drop pipe, creating a costly fishing operation. If resistance persists, consult a professional well driller. Prevention involves using properly sized torque arrestors and centralizers during reinstallation.
Problem: Rusted Base Bolts (Surface Pump)
Cause: Oxidation in outdoor/wet environments.
Solution: Apply penetrating oil 15 minutes prior. Carefully apply heat from a propane torch (avoiding fuel lines). If a bolt snaps, you will need to drill and tap the pad. Consider upgrading to Jingong stainless steel hardware kits during reassembly.
Problem: Solar Controller Fault Post-Reconnection
Cause: Reversed polarity (DC+/DC- swapped) or controller lockout.
Solution: Refer to your pre-disconnection photos. Verify PV string polarity. Many MPPT controllers require a 5-second reset button hold after a disconnect event to clear fault codes.
Problem: Diesel Pump Gasket Adhesion
Cause: Aged RTV sealant or heat-cycled gaskets.
Solution: Never pry between water passages. Use a wooden paint stirrer as a spreader in the bolt holes. A low-heat heat gun can soften rubber-based gaskets, facilitating separation.
Problem: Gasoline Trash Pump Impeller Seizure
Cause: Sand or grit infiltration.
Solution: After volute separation, apply penetrating oil. Use a 3-jaw puller on the impeller hub (protect the vanes). Check if the impeller locknut uses left-hand threads (common to prevent self-loosening during rotation) before applying force.
5. After You Take Off the Water Pump: Inspection, Parts Sorting & Decision Making
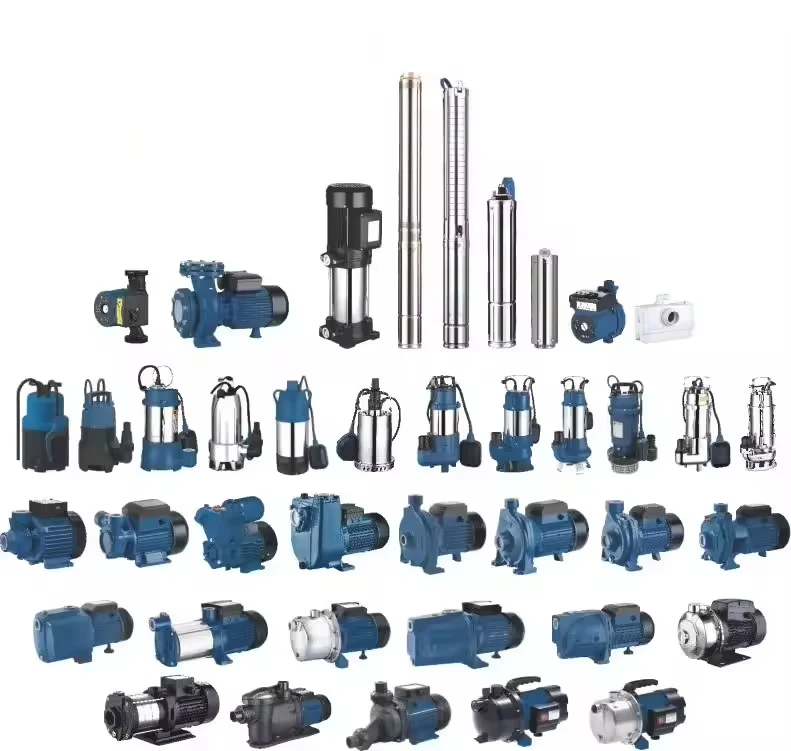
Most “how to take off a water pump” articles terminate at extraction. However, the purpose of water pump disassembly is to determine the next course of action: rebuild, replace components, or install a new unit. Here is the Jingong Bench Protocol.
5.1 Parts Sorting & Inspection
Execute this protocol before cleaning components to preserve wear patterns.
- Hardware: Sort bolts/nuts into labeled bags (“Flange,” “Base,” “Union”).
- Seals & Gaskets: Retain old items for profile matching (flat vs. O-ring vs. lip seal).
- Impeller: Inspect vanes for chipping (abrasion) or cavitation pitting (sponge-like metal erosion).
- Mechanical Seal: The carbon face must be perfectly flat and polished. Replace if cracked or if the spring tension is lost. Always replace rotating and stationary faces as a set.
- Bearings: Spin by hand. Any roughness or gritty sensation necessitates replacement. For submersibles, bearing failure often coincides with motor failure.
- Wiring: Check for rodent damage, UV embrittlement (solar), or heat shrinkage (engine bay).
5.2 Bench Testing (Motor Evaluation)
For separated motors:
- Submersibles: Perform a Megger test (Insulation Resistance). A healthy winding reads >1 MΩ at 500V DC. Readings <0.5 MΩ indicate moisture ingress, typically from a failed drop-cable splice or seal leak.
- Surface/Boosters: Use an ohmmeter across windings. Balanced phase resistance (±5%) indicates good health.
5.3 The “Rebuild vs. Replace” Decision Matrix
Based on Jingong’s 10-year warranty data:
- Seal + Impeller + Gaskets Only: Rebuild is economical (30–40% of new unit cost).
- Noisy Bearings + Failed Seal: If the motor exceeds 7 years of age, replace the entire unit. Labor for bearing presses and rewinds often reaches 60% of a new pump’s price.
- Failed Submersible Windings: Replace. Reinstalling a repaired motor into a deep well only to have it fail six months later incurs massive labor and retrieval costs.
- Solar Controller Errors (Pump is Fine): Replace the controller, retaining the pump.
5.4 Storage Protocol (If Not Reinstalling Immediately)
Ensure complete drainage. For submersibles, coil the drop cable with a minimum 12-inch bend radius; store horizontally on wood (never hang by the cable). For solar pumps, recap controller terminals. For diesel units, consider cylinder fogging; for gasoline units, drain the carburetor bowl to prevent ethanol varnish buildup.
6. FAQ: Common Questions About Taking Off Water Pump
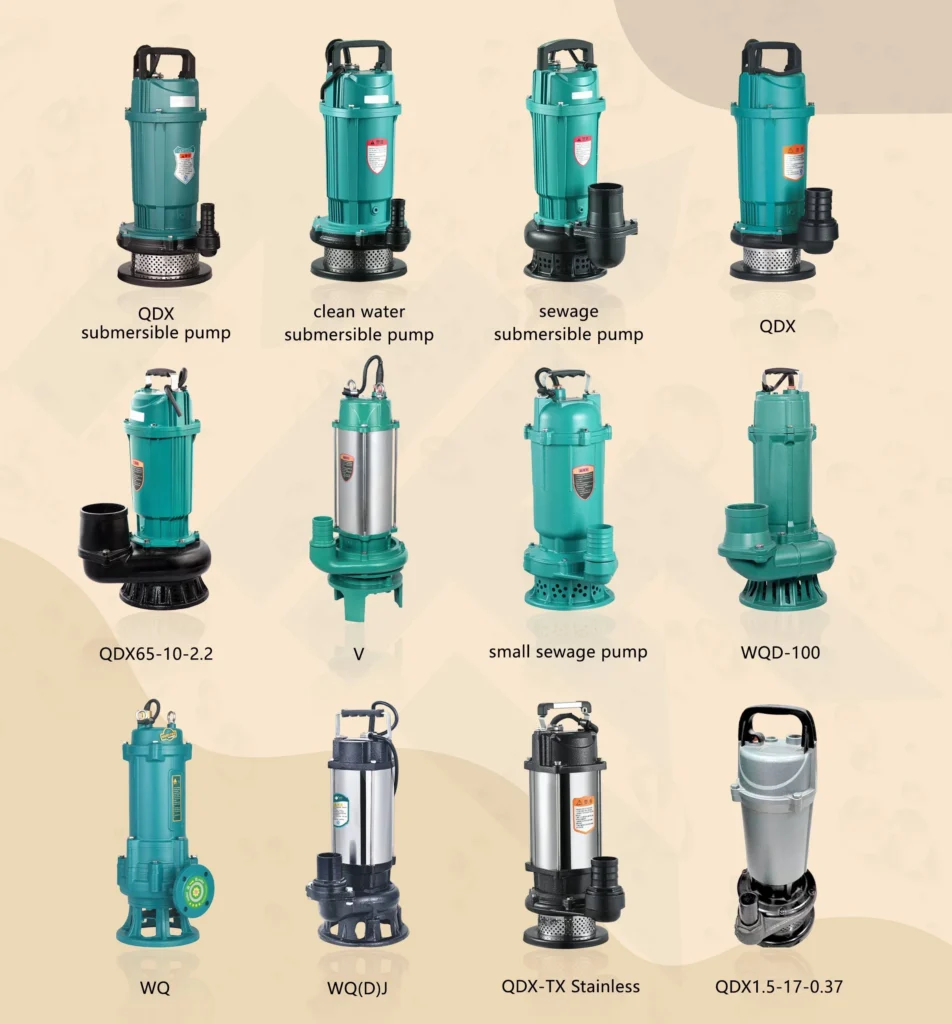
These are the most frequent inquiries received by Jingong Technical Support, optimized for Google’s “People Also Ask” (PAA) and Featured Snippets.
Q1: Is it hard to take off a water pump by yourself?
A: Difficulty varies significantly by type. A portable gasoline trash pump or small solar surface pump can typically be managed by one person. Conversely, a submersible well pump or a diesel engine-mounted centrifugal pump absolutely requires two personnel. The challenge isn’t merely the pump’s weight (often 15-30 lbs), but the cumulative weight of the water-filled drop pipe (which can exceed 300 lbs in deep wells). Attempting a solo deep-well extraction is the leading cause of pumps being dropped and lost in boreholes.
Q2: Do I need professional tools to remove a submersible pump?
A: Yes. While a homeowner might improvise with pipe wrenches, safe and successful submersible water pump removal requires a proper tripod or A-frame hoist, a 1-ton chain fall or winch, and specialized pipe clamps. Without mechanical advantage, controlling a heavy, vertical assembly is impossible and dangerous. Industry standards mandate proper rigging equipment.
Q3: Can I disassemble a solar water pump in the rain?
A: No. Rain introduces two critical risks: 1) Electrical hazard, as water compromises insulation and increases the risk of arc flash from the high-voltage DC array. 2) Contamination, as moisture entering the pump motor or controller voids warranties and causes immediate failure. Always perform solar pump work in dry conditions with the array covered.
Q4: How long does it take to remove a diesel water pump?
A: For a skilled technician with the correct tools, extracting the pump head from a diesel engine takes approximately 45–90 minutes. This includes cooldown time, drainage, belt removal, and unbolting. If the pump is seized or bolts are rusted, this timeframe can extend significantly. Removing the entire engine-pump skid from a frame may take 2–4 hours.
Q5: What mistakes should I avoid when taking off a surface pump?
A: The top three mistakes are: 1) Neglecting to close the suction-side valve, resulting in flooding. 2) Using a single wrench to break pipe unions, twisting and cracking the pump volute. 3) Failing to label wiring and hardware, making reassembly a trial-and-error process that often results in incorrect sequencing or lost parts.
Q6: Can I reuse the old gasket after taking off the water pump?
A: Generally, no. Gaskets and O-rings compress and degrade over time. Reusing them almost guarantees a leak upon reinstallation. Always use a new gasket or seal kit compatible with your specific Jingong pump model. Ensure mating surfaces are scrupulously clean before installing the new gasket.
7. Conclusion: Expert Water Pump Removal Backed by Jingong Engineering
Successfully learning how to take off water pump transcends simply loosening bolts; it requires a systematic understanding of hydraulic, electrical, and mechanical engineering principles tailored to the specific pump architecture. Whether you are performing routine maintenance on a solar water pump, troubleshooting a seized diesel water pump, or extracting a submersible water pump from a deep well, adhering to the structured, safety-first protocols outlined in this guide ensures operational integrity and personal safety.
At Jingong Technology, we don’t just manufacture pumps; we engineer comprehensive fluid management solutions. Our commitment to Experience, Expertise, Authoritativeness, and Trustworthiness (EEAT) ensures that the guidance provided here meets the rigorous demands of global B2B procurement engineers and field technicians alike.
Next Steps & Jingong Resources
- Need a Replacement? Explore our full catalog of high-performance pumps, including corrosion-resistant submersibles, high-head boosters, and fuel-efficient engine pumps.
- Facing a Complex Issue? Our engineering team offers technical support for challenging removal or diagnostic scenarios. Contact us with your specifications.
- Looking for Parts? Access genuine Jingong replacement parts and maintenance kits via our Parts Portal.
Proper water pump disassembly is the first step toward extending the lifecycle of your equipment and ensuring uninterrupted operation. Trust Jingong—where precision engineering meets global reliability.